Coffee
Realistic modeling, lookdev, and lighting project
Project Overview
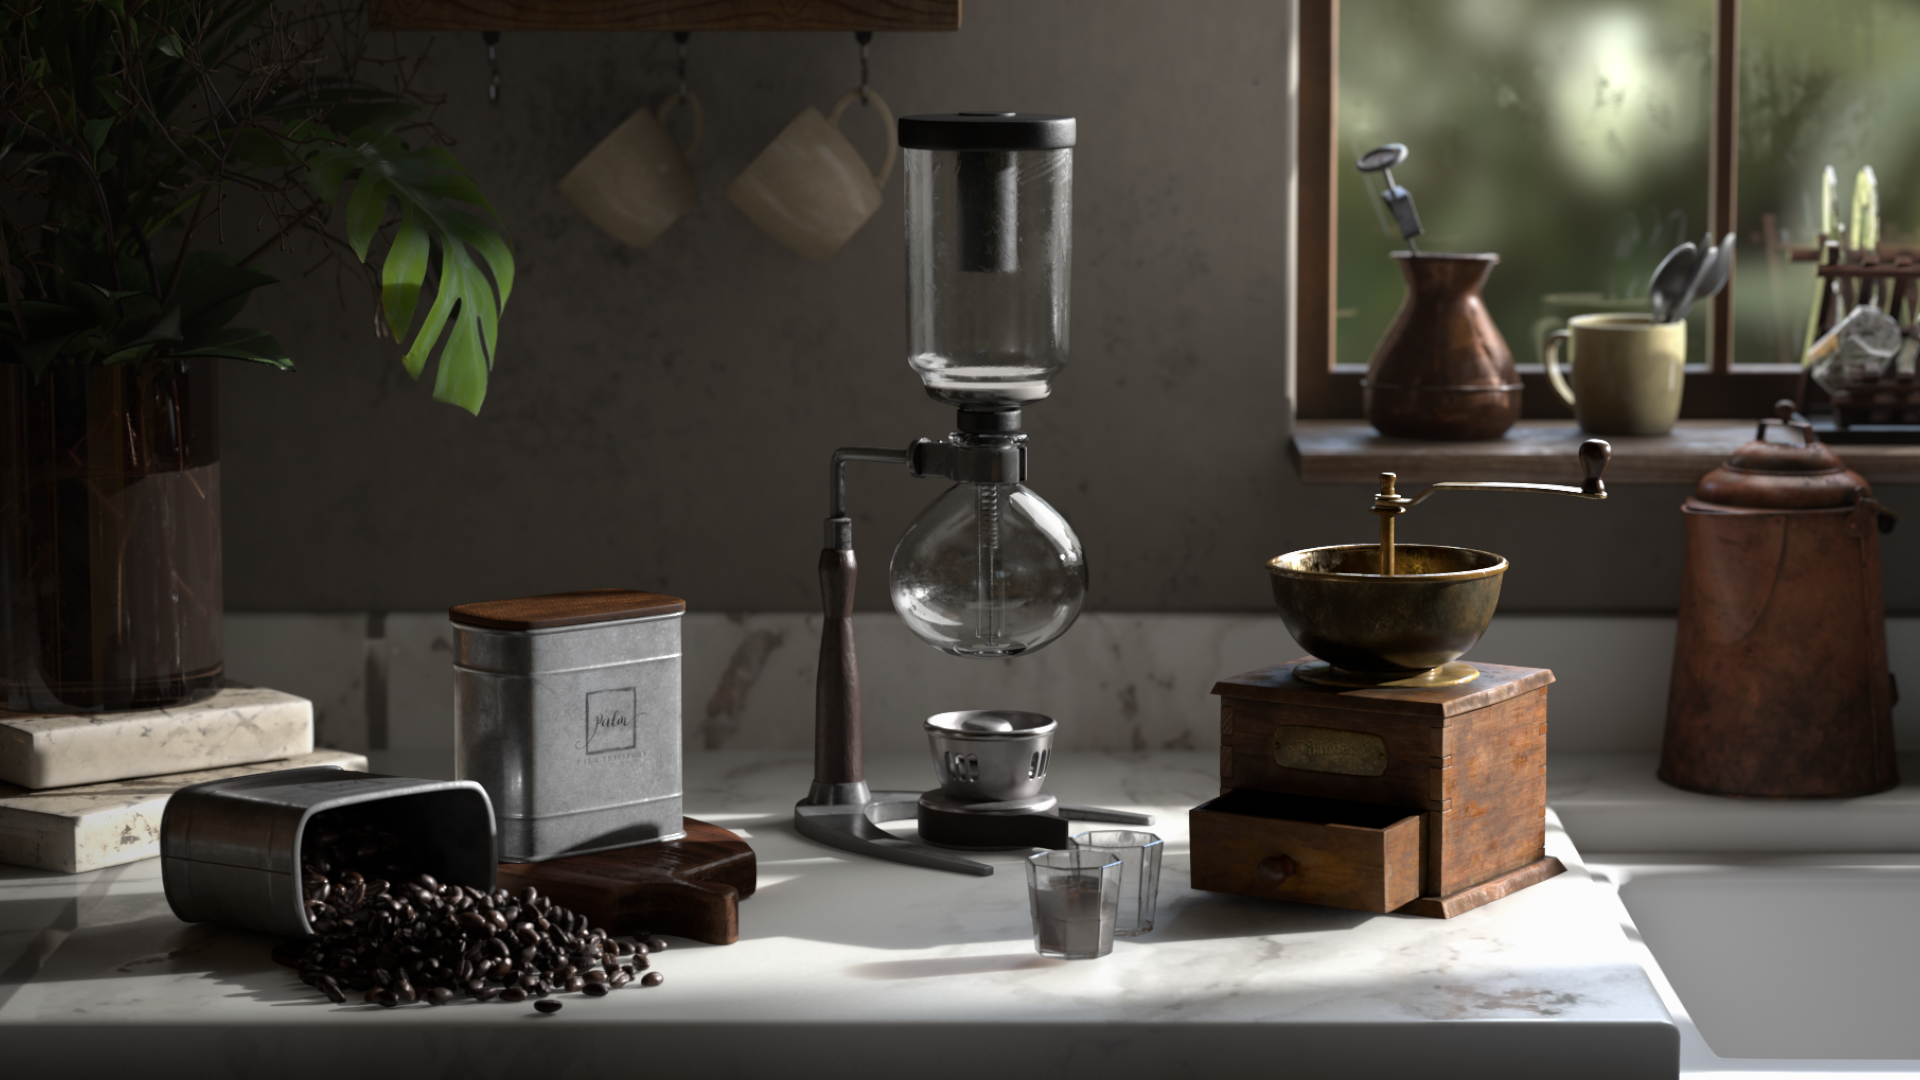
The rendered image before you serves as an example of my deep dive into the world of texture and look development, executed in a realistic style. Through this project, I took on the challenging task of designing and creating various elements from scratch, including the intricate models, textures, shading, and lighting effects. With painstaking attention to detail and a meticulous approach, I worked tirelessly to bring each element to life and craft a cohesive, visually striking composition. While I was responsible for the vast majority of the elements featured in this piece, I must note that a few components, such as the plant, HDRI, bottle, and decorative objects, were not my own creations. Despite this, I’m immensely proud of what I was able to achieve through this project, and I look forward to continuing to hone my skills in texture and look development in the future.
Role: Model, Texture, Lookdev, and Lighting
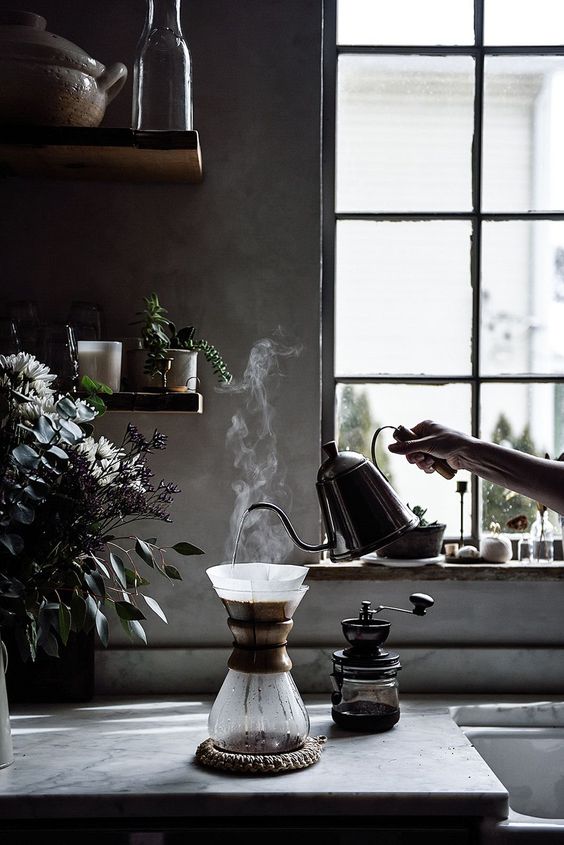
Reference
I love food and beverage photography that conveys mood and tells a story in a single image. After researching coffee brewing methods, I became fascinated with the syphon method and used it as a reference for my 3D project, capturing the brewing process for added depth and interest.
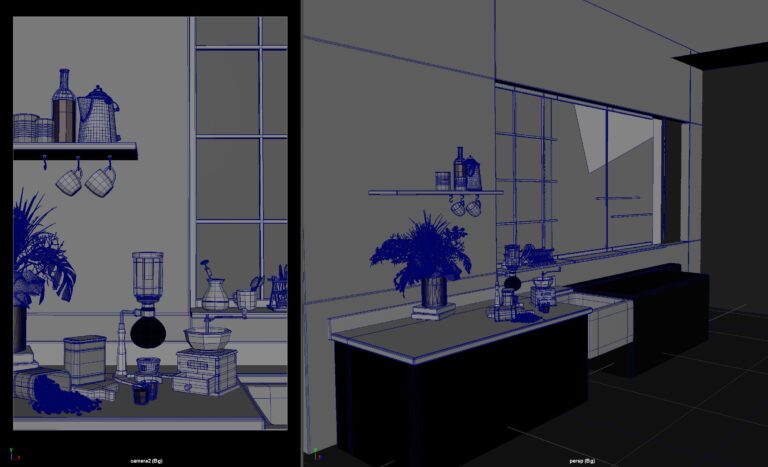
Modeling
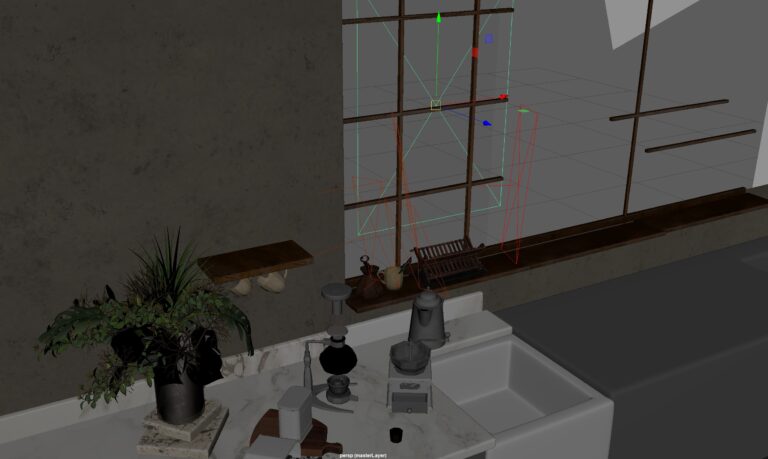
This project was inspired by a reference image and aims to achieve a high level of realism by matching computer-generated graphics with real-world photographs. However, I found it challenging to match the correct scale of the real-world objects. To tackle this, I started by using an 85mm focal length for the camera, which I assumed was used to take the reference photo. From there, I created a 3D environment that included a room, kitchen counter, and sink. I also designed various 3D assets such as a syphon coffee maker, coffee grinder, coffee container, and simulated coffee beans, along with other props to enhance the realism.
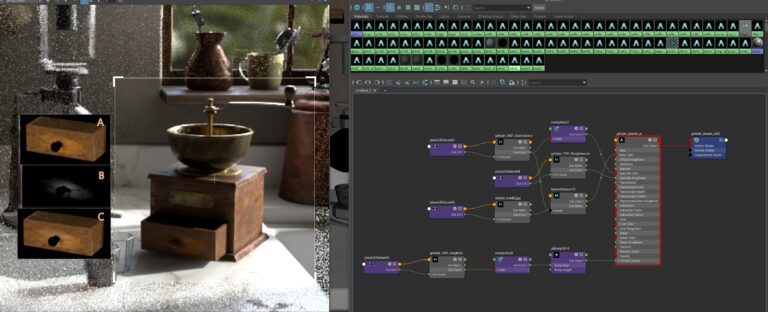
Shading
In this project, I used Substance Painter to produce a set of customized shaders by creating various masks. As an illustration, I desaturated the front grinder drawer using a layerTexture node and included additional details on the wooden surface. The use of masks and layer textures significantly expedited my workflow for texture and shader creation.
Lighting
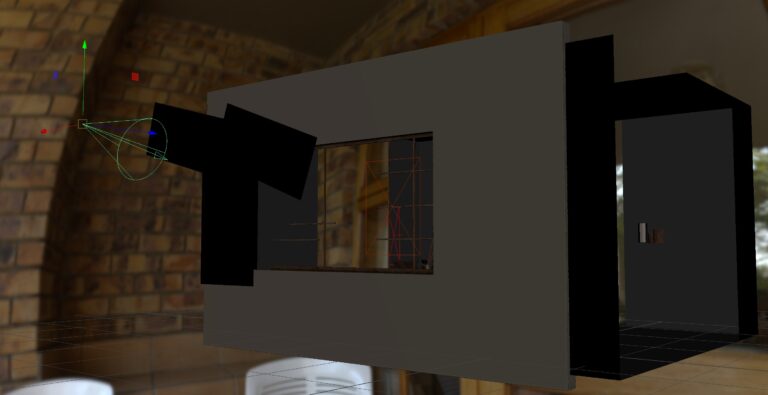
To replicate the lighting and reflections in the reference photo, it appears that the light source was not very strong and came from an indoor source. To achieve a similar effect in a 3D rendering, I would utilize an Indoor High Dynamic Range Image (HDRI) in conjunction with a soft key light. This combination would enable me to set up a lighting scheme similar to the one in the reference photo.
Furthermore, incorporating a fill light with area lights would be essential in order to brighten any dark or shadowed areas. Using area lights can create a soft and uniform illumination throughout the scene, ultimately enhancing the realism of the final rendering.
Conclusion
As a 3D artist, I have acquired the skills to create 3D assets and to strategically plan the lighting to match the desired camera angle, achieving a realistic look. A key aspect of my work involves the ability to mix different textures and shading techniques to create a cohesive and visually appealing final product.
When setting up a scene to match a real photo, I begin by analyzing the lighting in the photo to determine the direction and strength of the light source. I then recreate this lighting in my 3D software, using techniques such as key lights, fill lights, and HDRI lighting, to ensure that the lighting in my scene accurately reflects the lighting in the real photo.
Finally, I set up the camera angle to match the perspective of the real photo, ensuring that the lighting and textures are accurately represented from the desired viewpoint. Through these techniques and skills, I am able to create 3D assets that match the realism and aesthetics of the real world, allowing for seamless integration of virtual and physical spaces.