As a Lookdev artist, I’ve always been curious about how materials tell their own stories. Each type reacts to light differently, has its own weave, texture, and softness. Capturing that realism isn’t just about technique, it’s about observing the small details that make something feel real.
This project began from that curiosity. I wanted to understand how different materials mesh, fabric, leather, rubber, and stitching come together in a single Nike Air Force Shoe. I challenged myself to build everything from scratch, exploring how texture, color, and light interact on complex part. It was both a technical challenge and a creative journey that deepened my love for material storytelling.
Software: Blender, Maya, Substance 3D Painter, and Photoshop
Reference
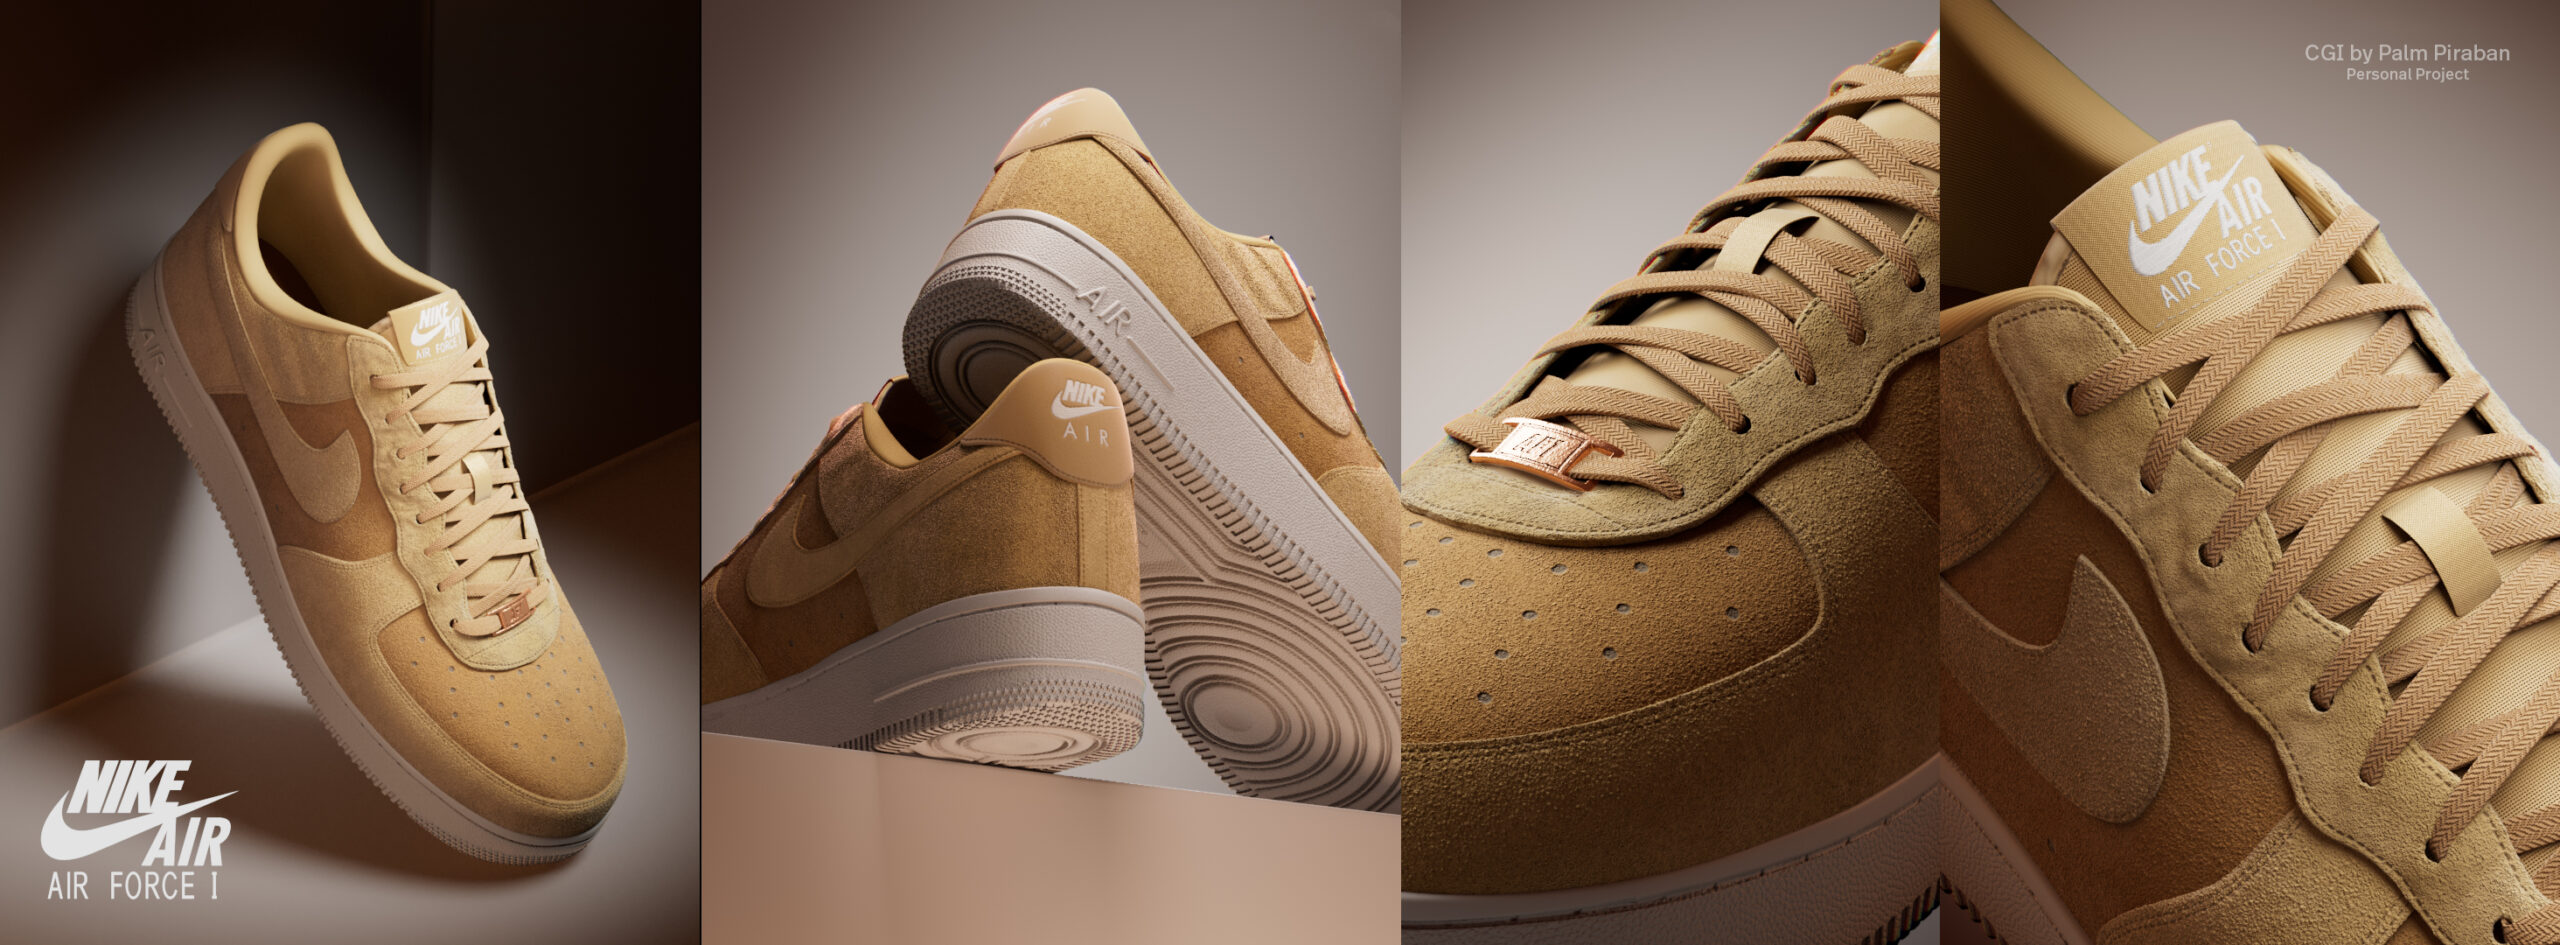
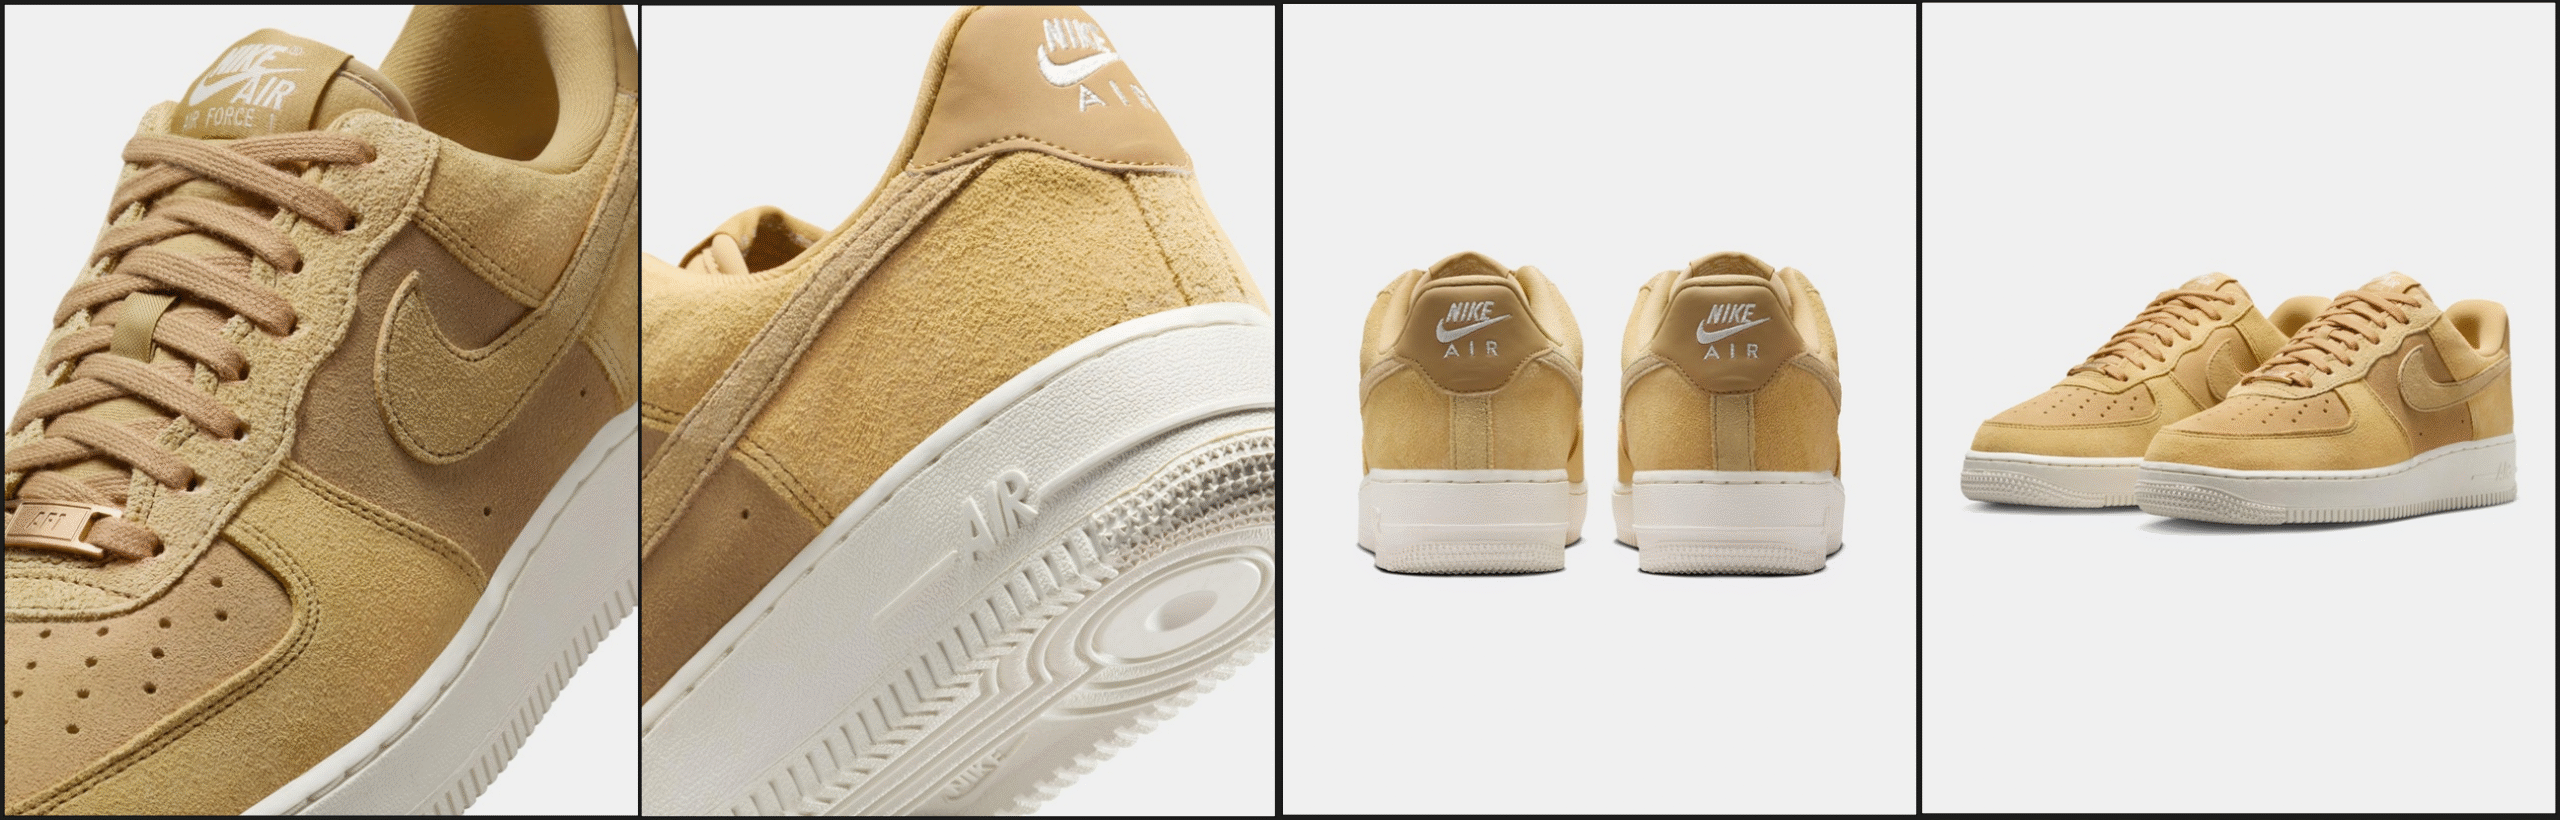
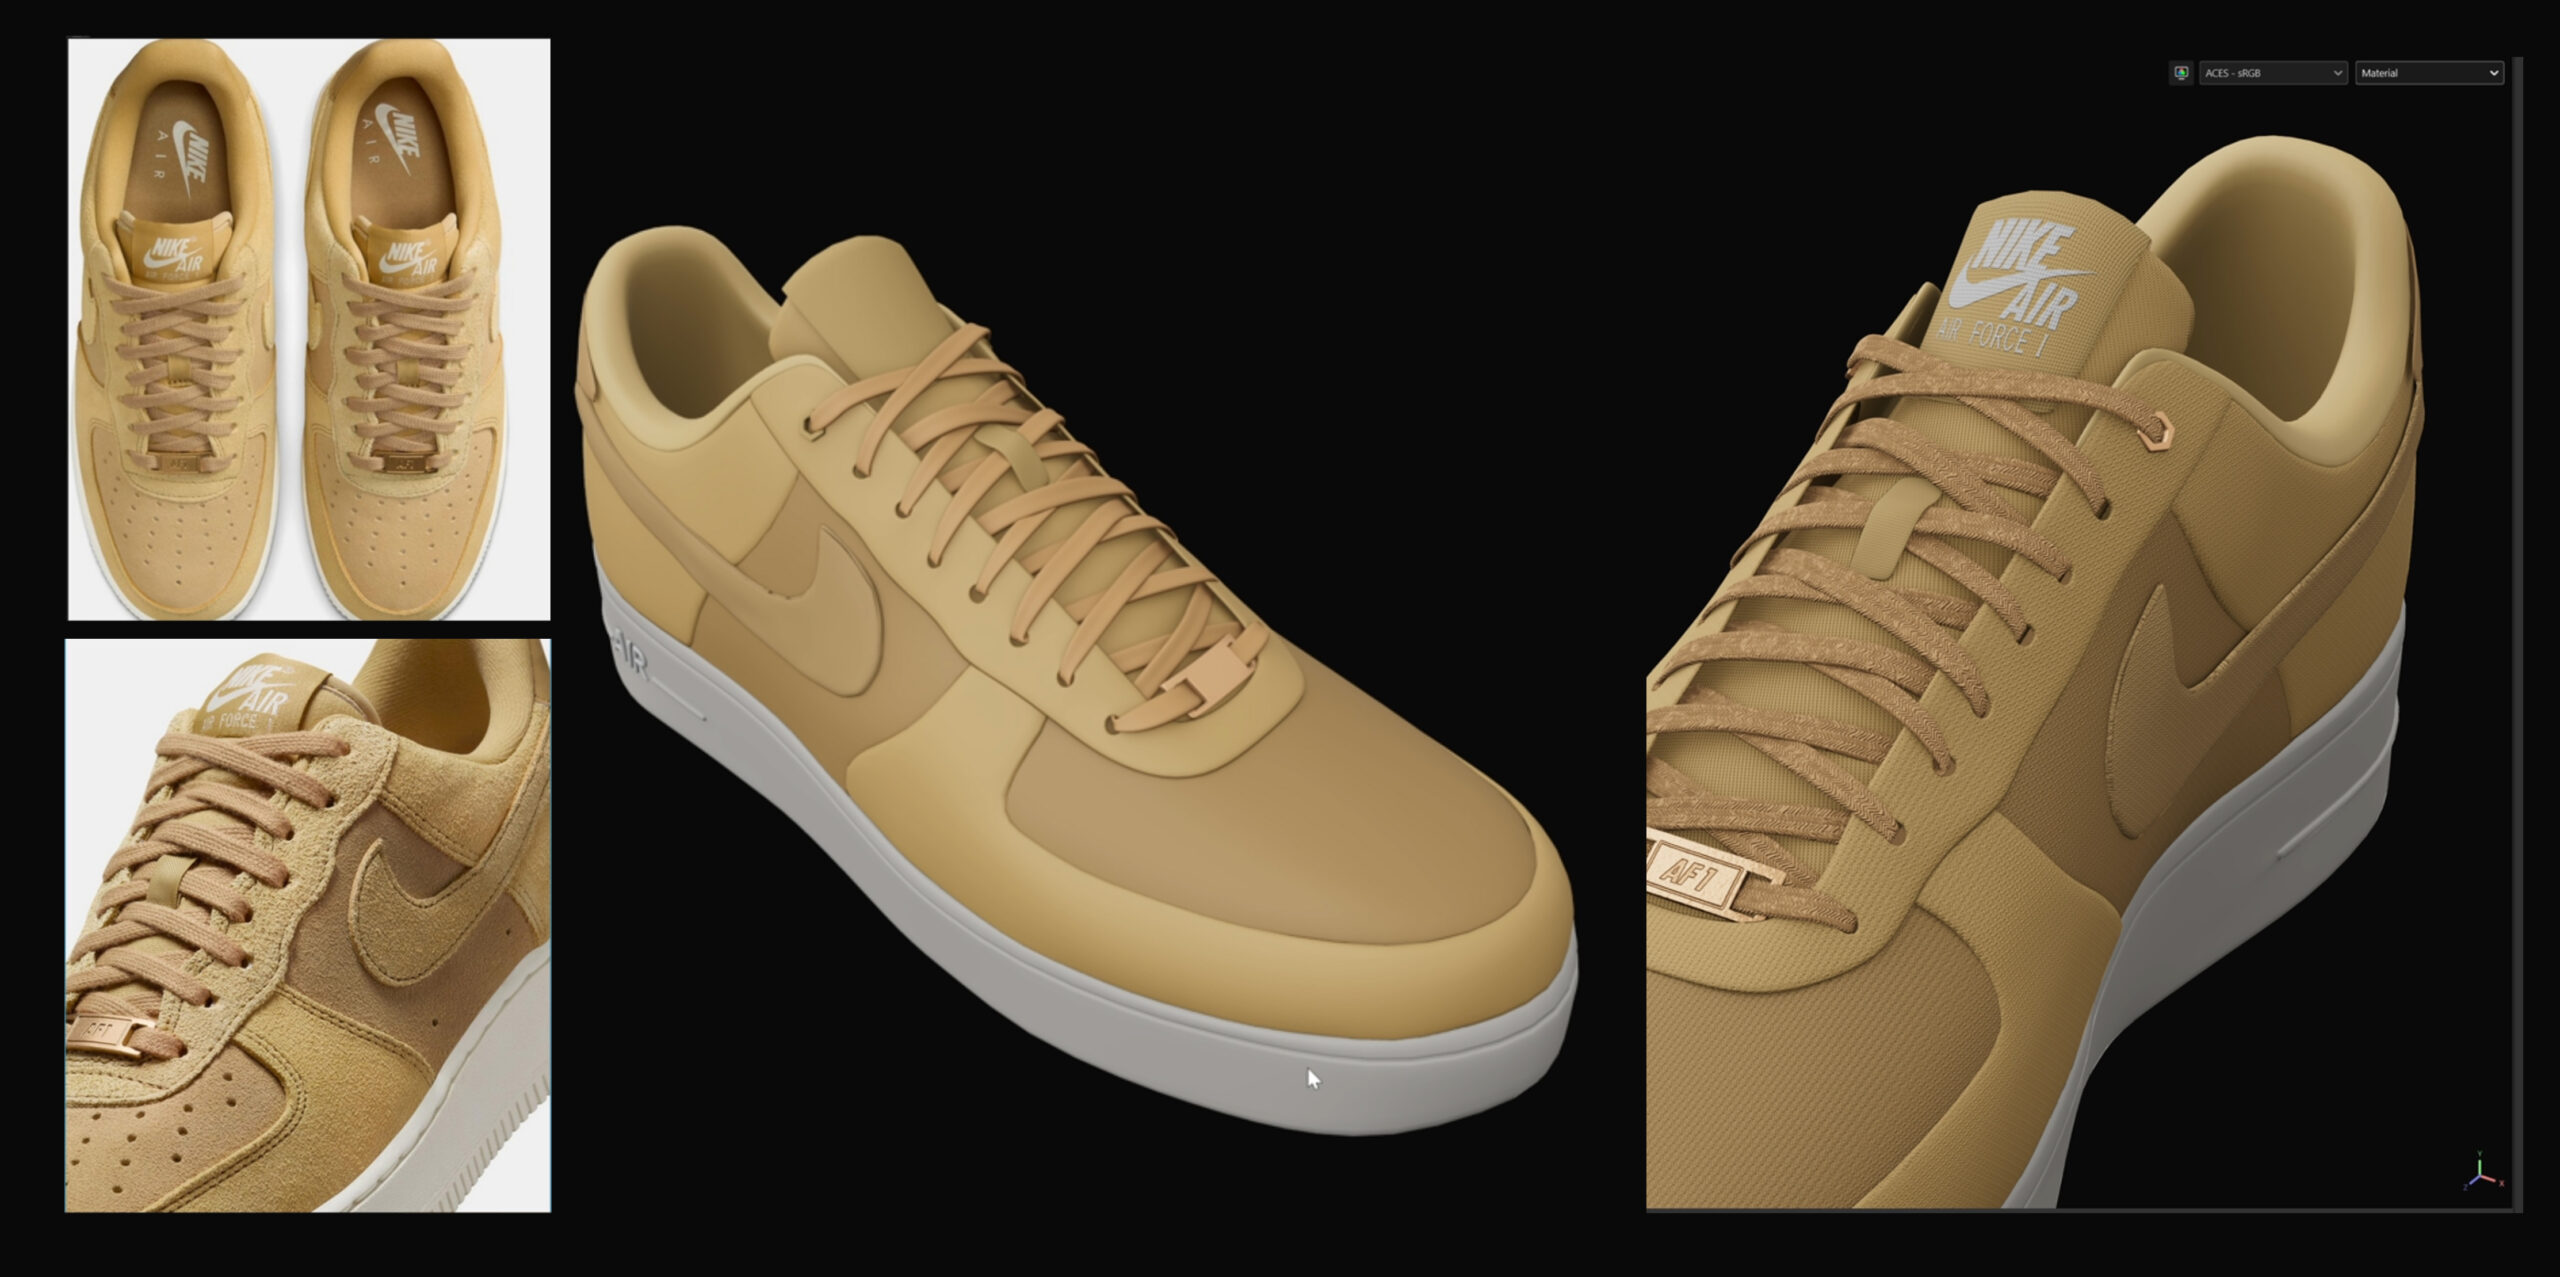
I was honestly stunned when I saw the Nike Air Force 1 Brown Edition. The suede leather looks so soft and rich, and the smooth brown tones give it such a calm, timeless vibe. It’s simple but full of character, the kind of design that makes you want to look closer and appreciate every detail.
3D Modeling
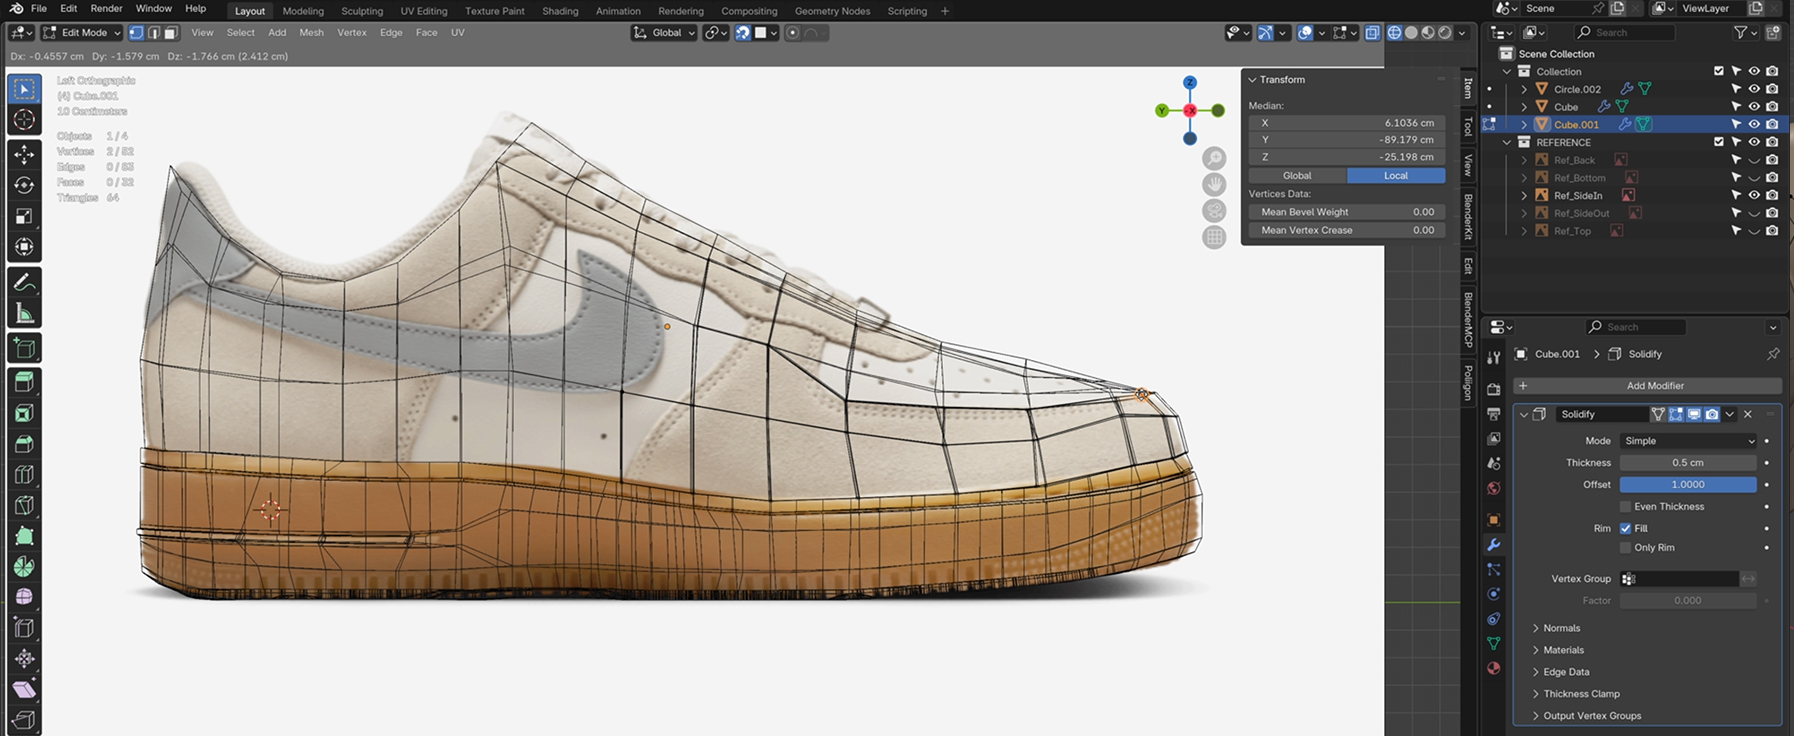
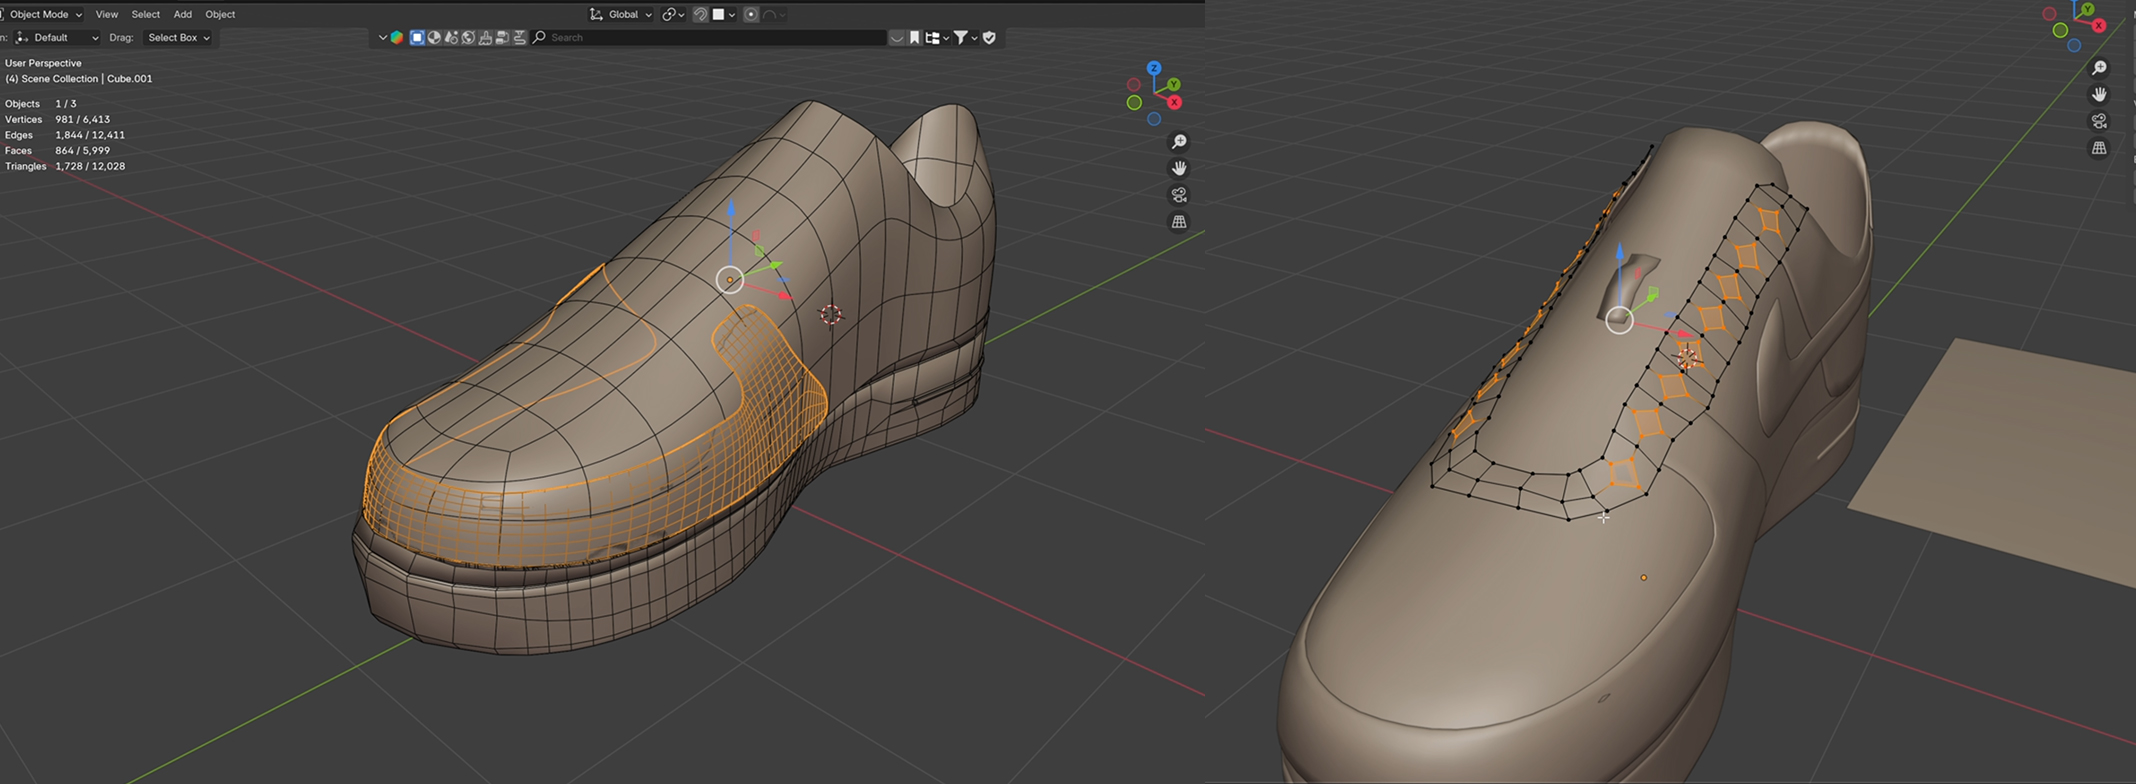
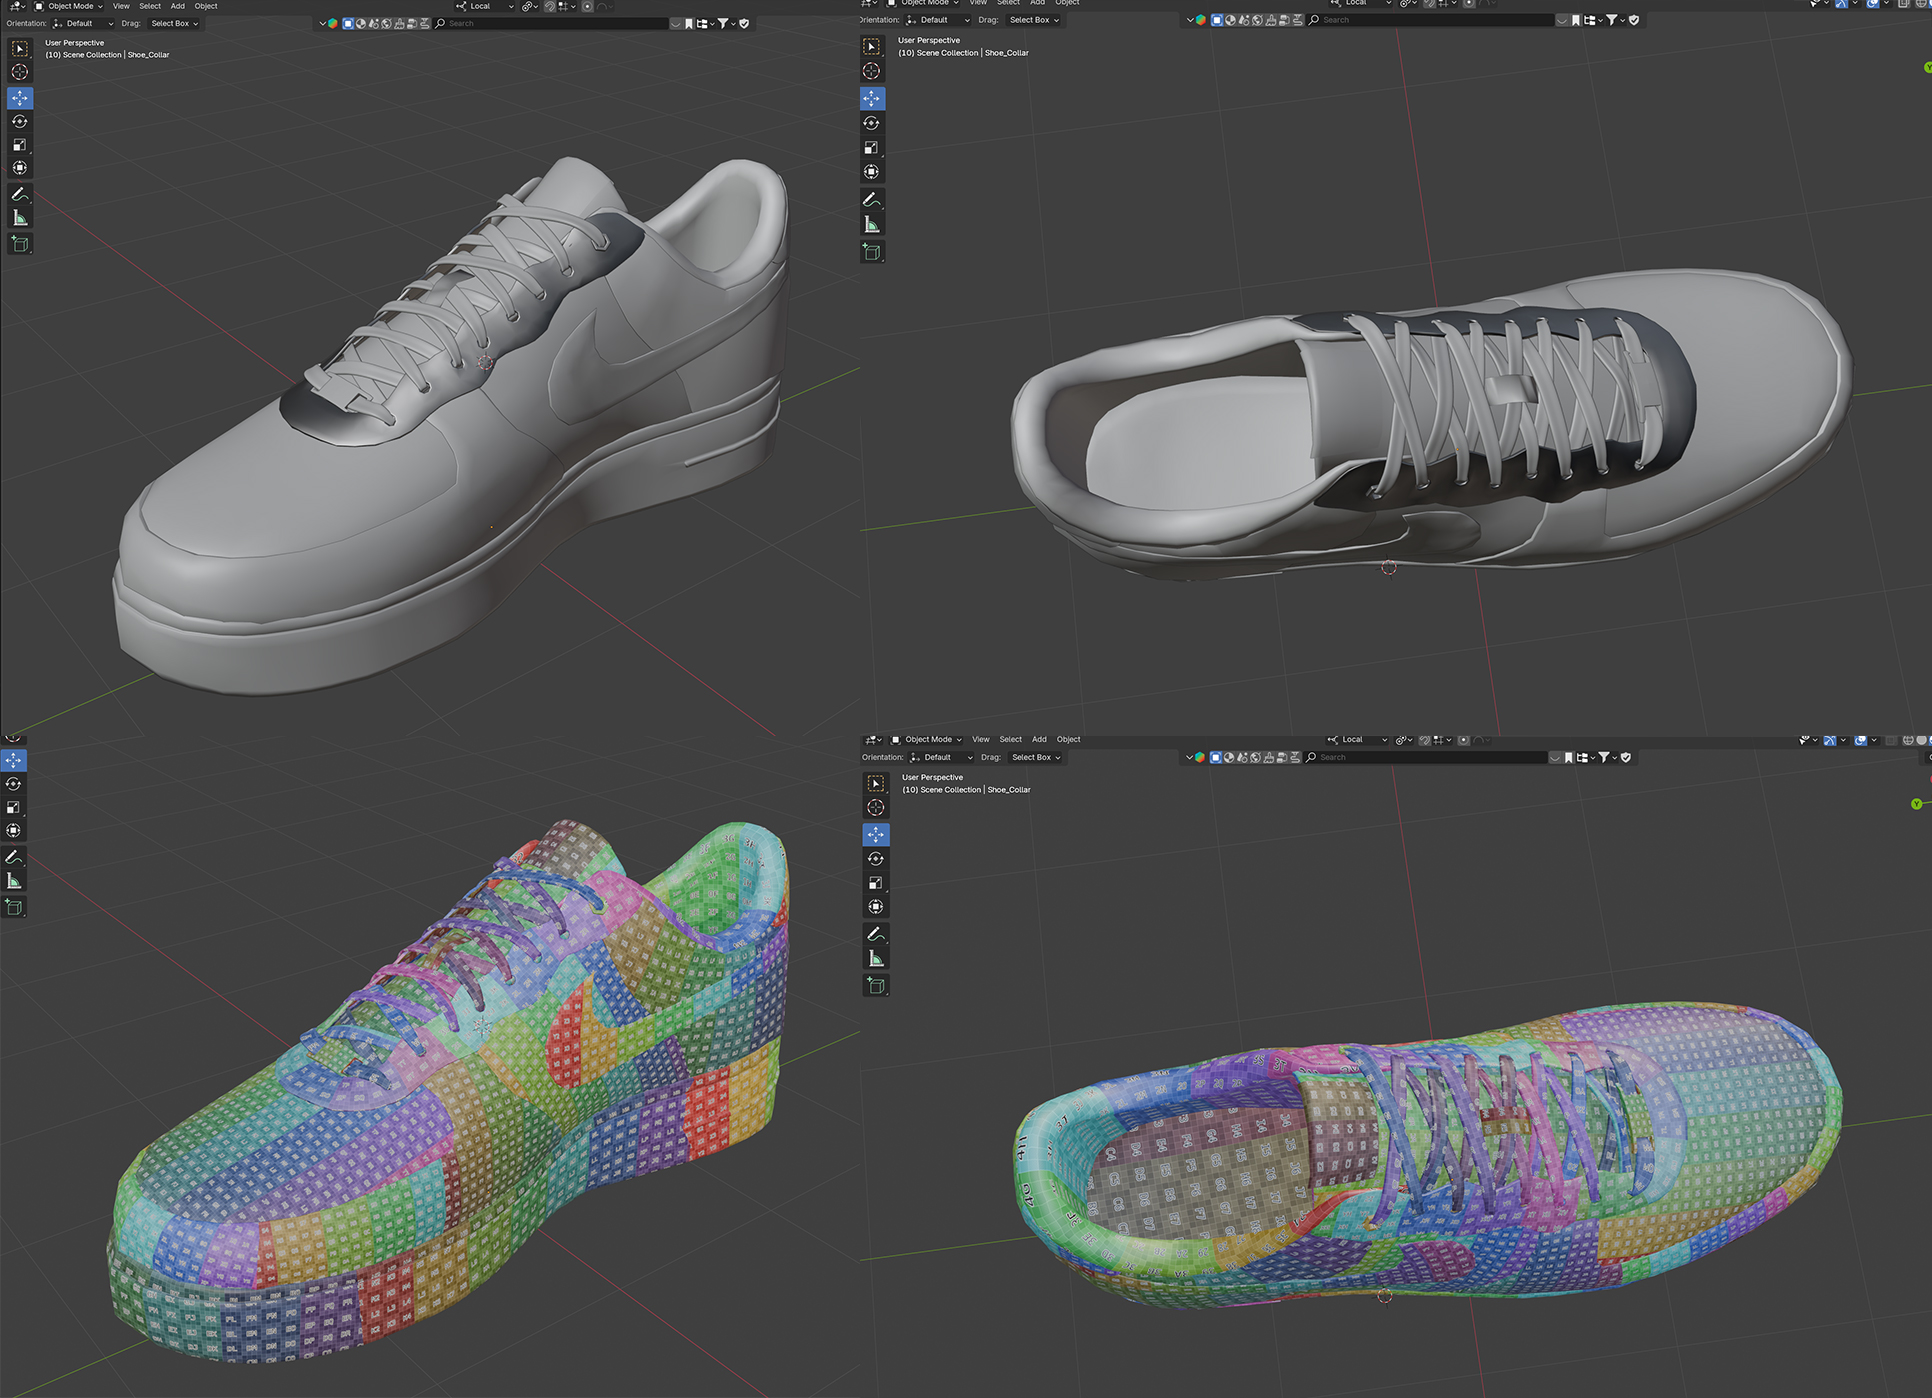
I started by switching the lighter color variation (cream and brown) shoe and make it easier to focus on each part. Then, I began modeling with a simple blocking stage, a low-poly base in Blender.
My goal was to capture realistic proportions while keeping the mesh clean, with just enough faces to shape the details without overcomplicating it. Once I was happy with the rough volume, I moved on to adding the main parts like the shoe tip, vamp, eyestay, midsole, and other details to build up the overall form.
After finishing the modeling, I unwrapped the UVs carefully to minimize distortion and maintain consistent texel density.
Texturing
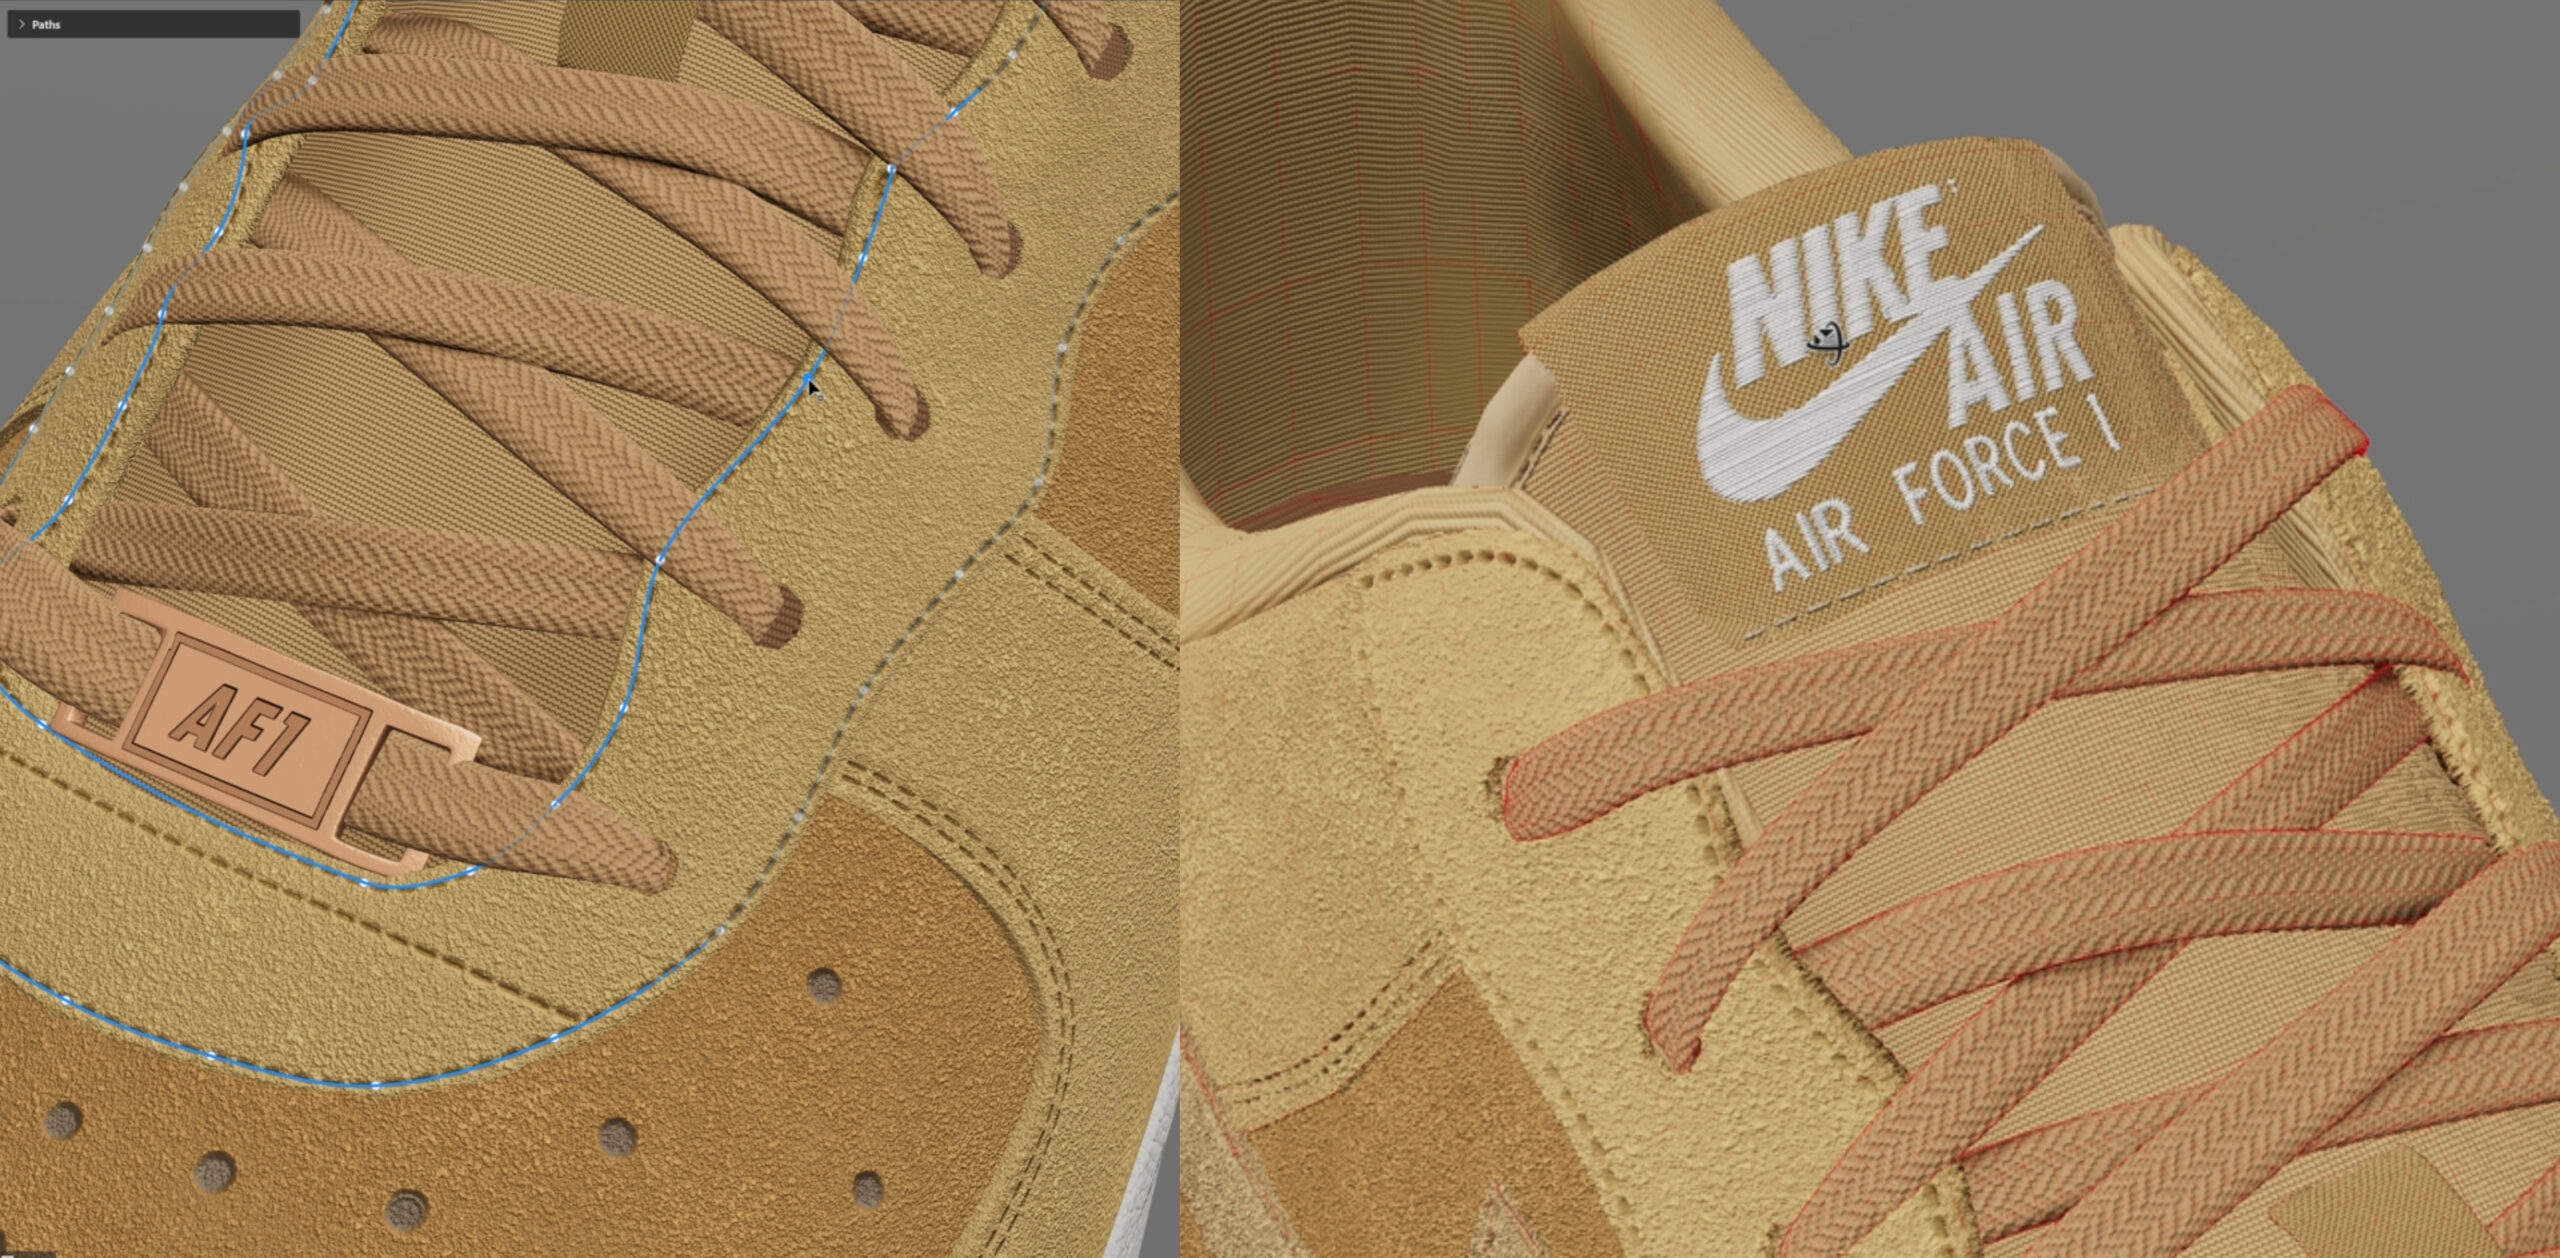
In Substance 3D Painter, start by carefully analyzing the reference image and selecting base colors that closely match it. Assign each part its specific shade brown, dark brown, and orangish-brown to maintain accurate color differentiation and visual hierarchy. Apply these colors using fill layers, and consider using masks to isolate areas for more precise color control. Pay attention to subtle tonal variations in the reference, as even small differences in shade can make the material feel more realistic
Next, refine the details by adding patterns and surface characteristics based on the reference, which is a suede leather texture. Include stitching along seams, embossing for the logo to give a textile look, and displacement on the sides of the midsole to enhance realism.
Shading
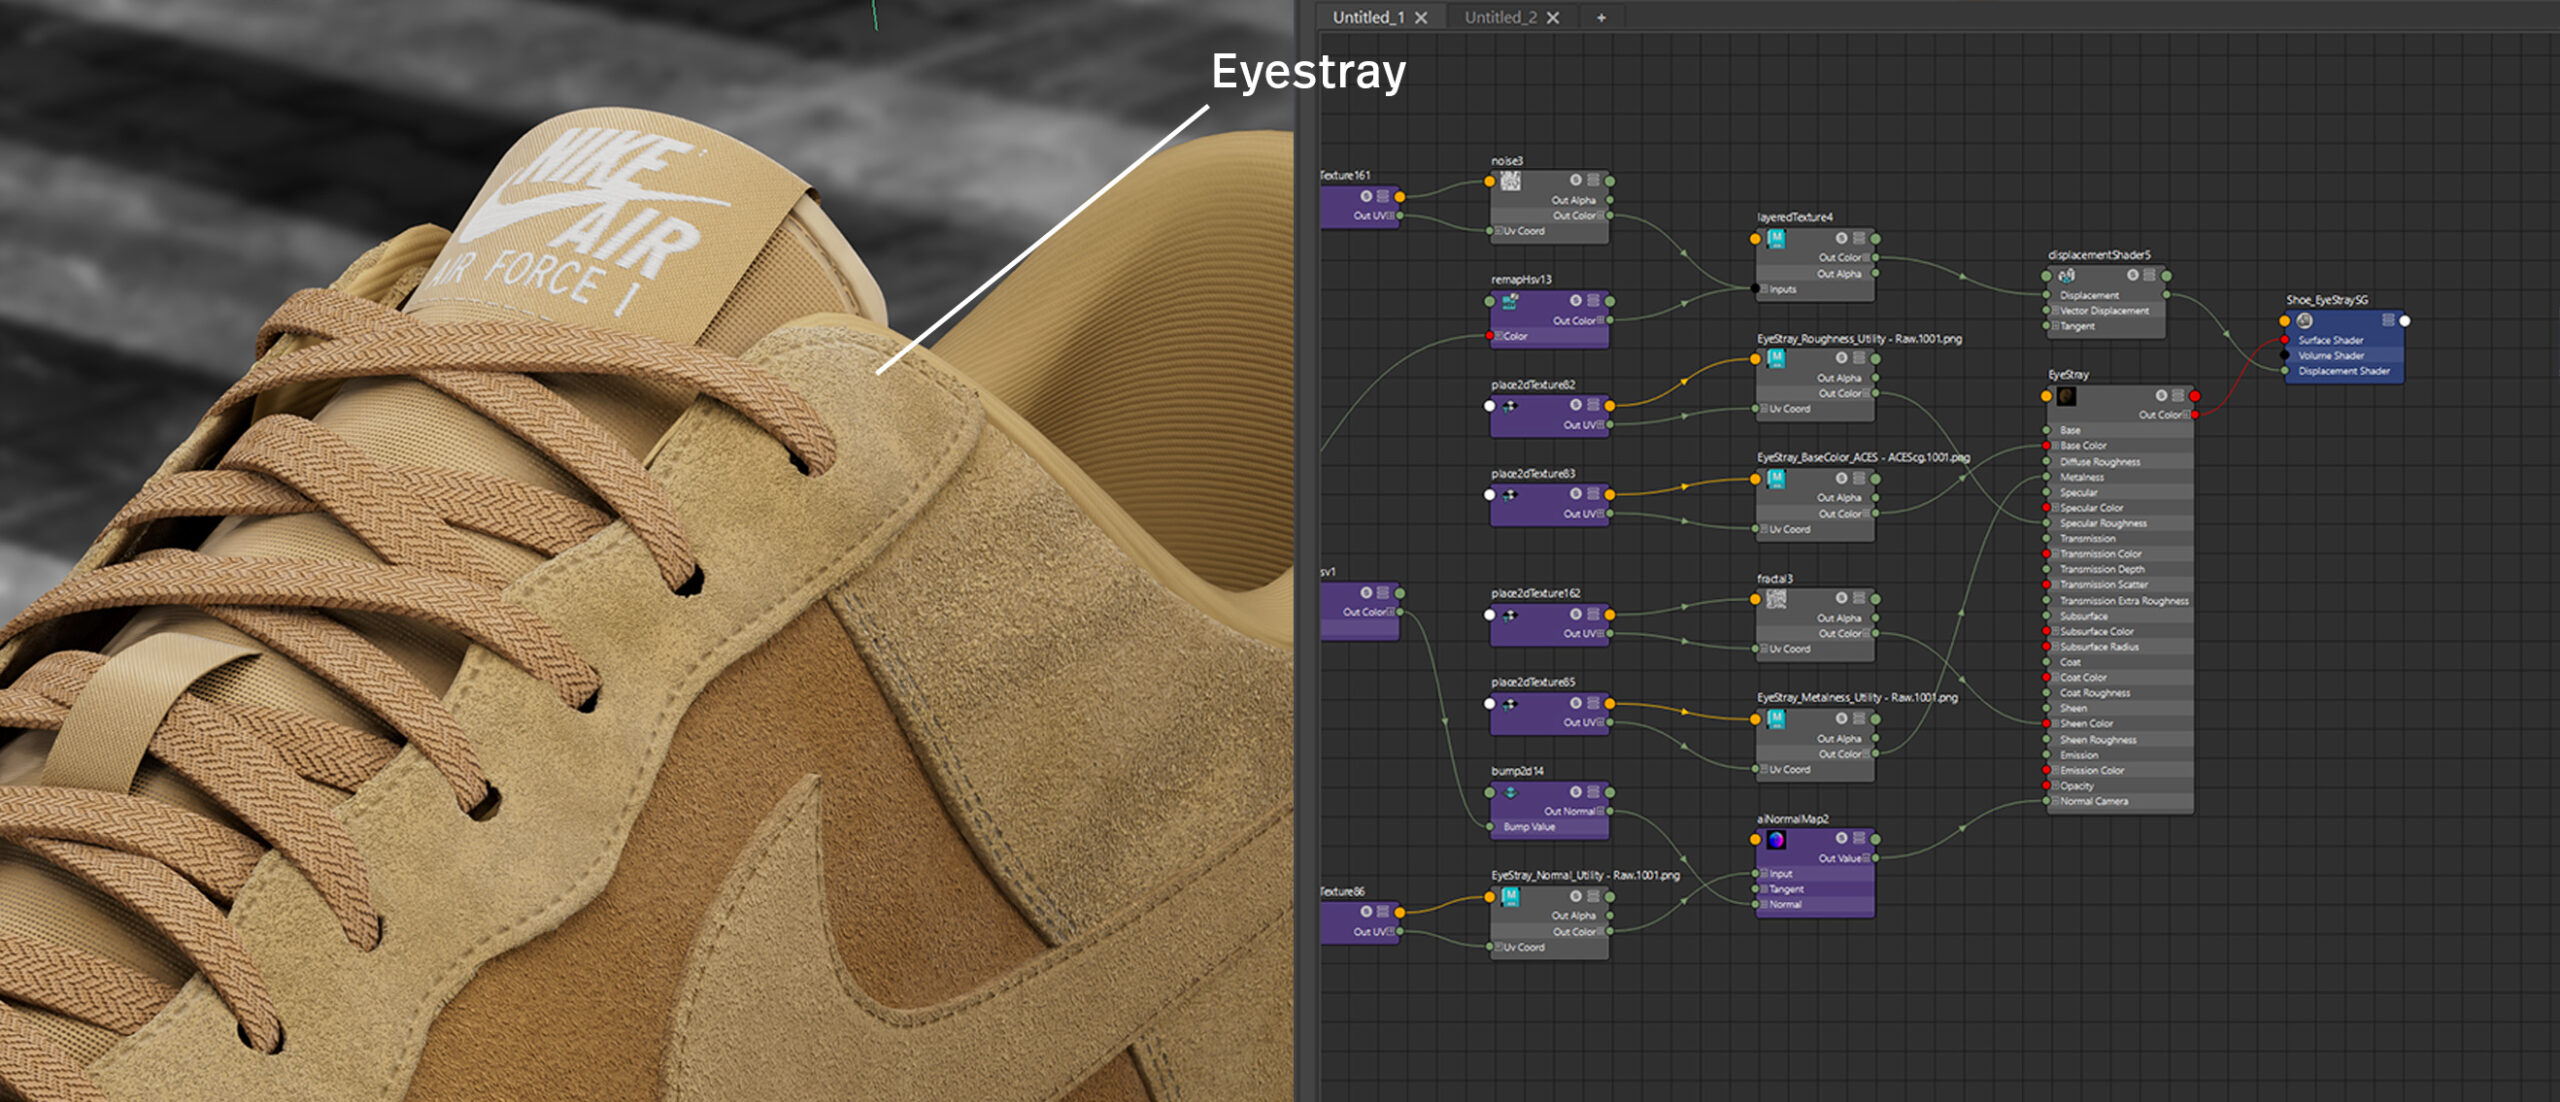
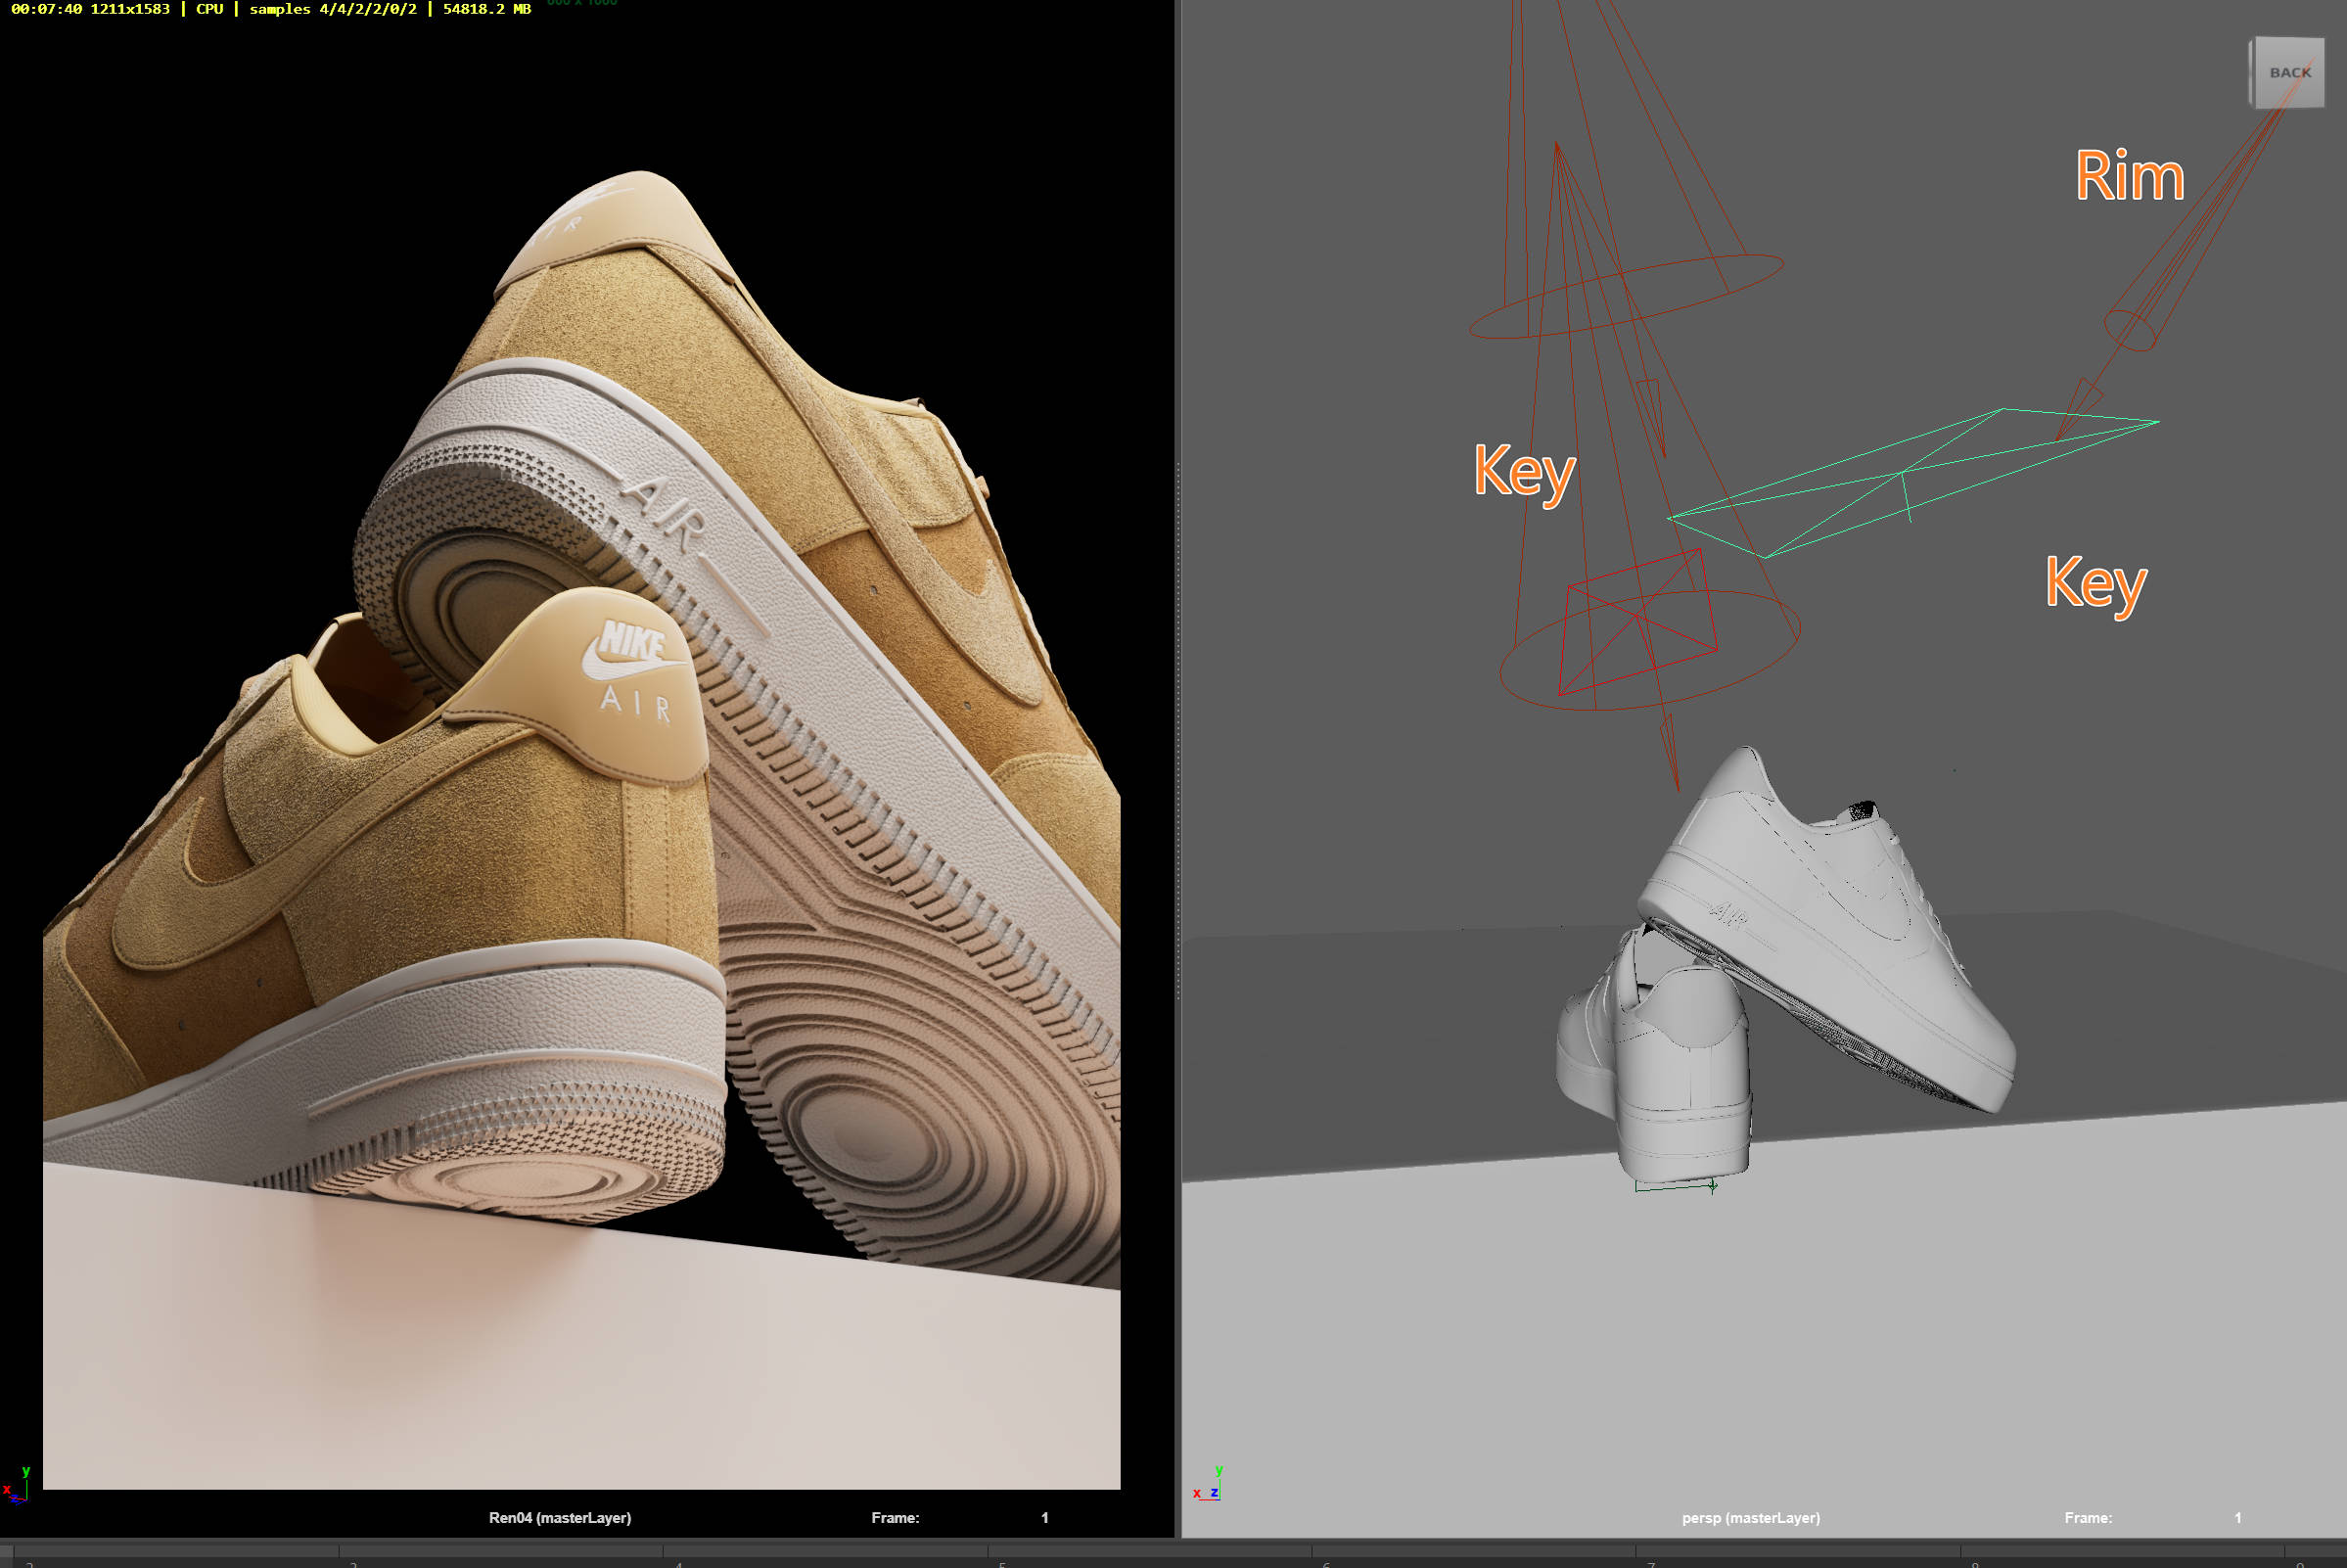
To be honest, shader in Blender is complex to me so, I move to Maya for the shading part. after set up the lookdev lighting template, I use this one to be a standart lighting act as a tent light when a photography product shooting. There are many type of material for example, here is the final render for shading process
To achieve the desired look on the suede leather, I mixed and matched several noise patterns and added a slight displacement to enhance the surface texture.
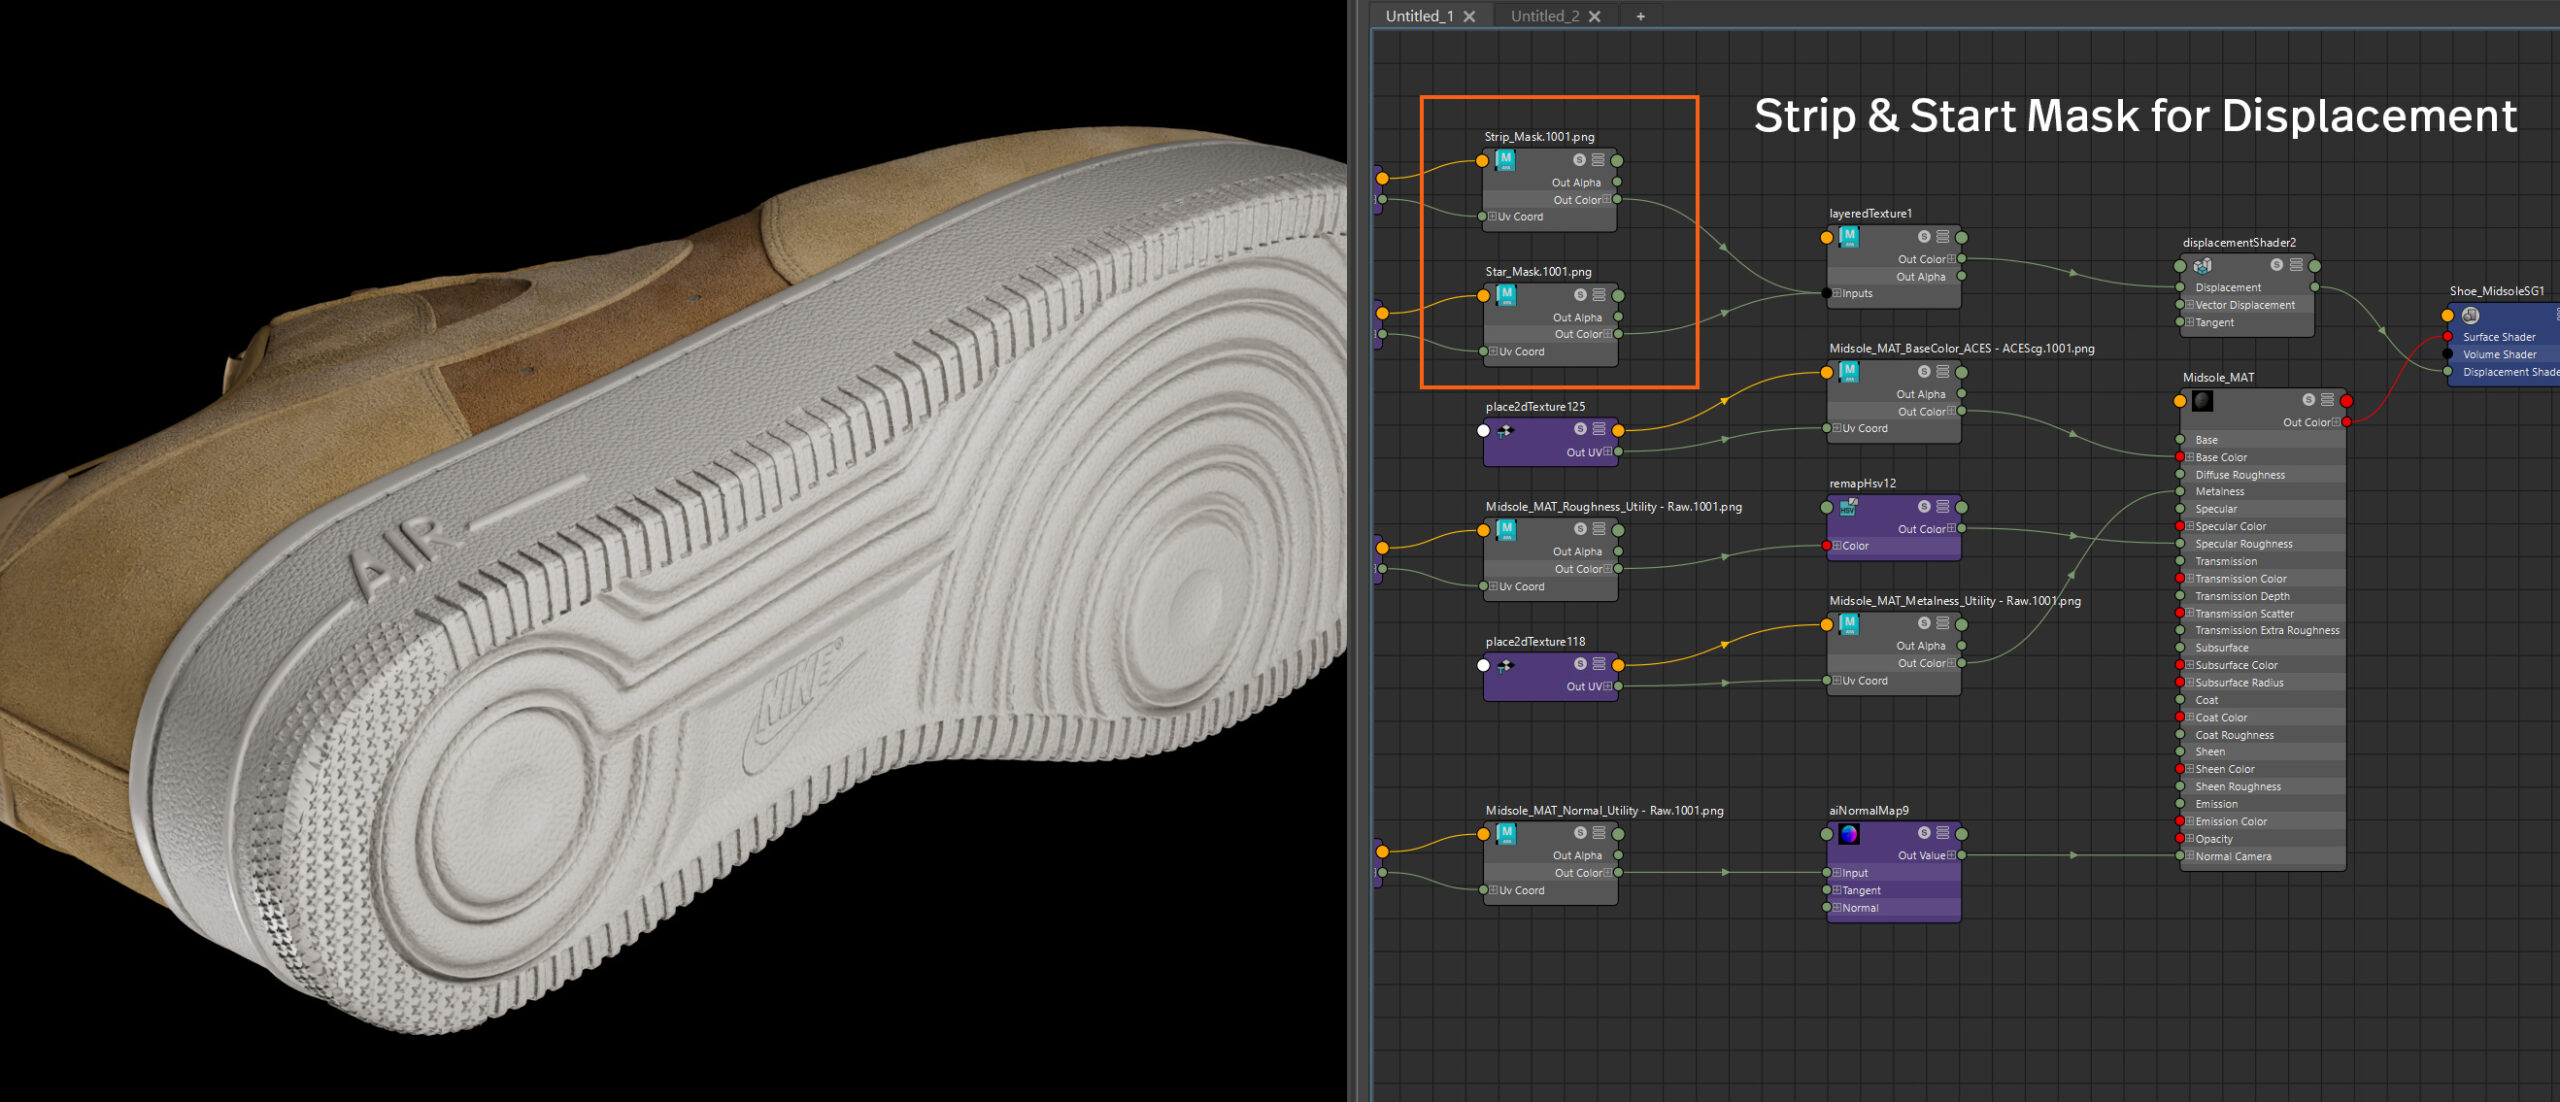
For the midsole, I created a black and white mask to control the displacement on the sides, starting the pattern at the tip and bottom to define where the texture and details should appear. These elements were then added to the displacement layer, allowing for precise surface variation and improved realism.
Lighting
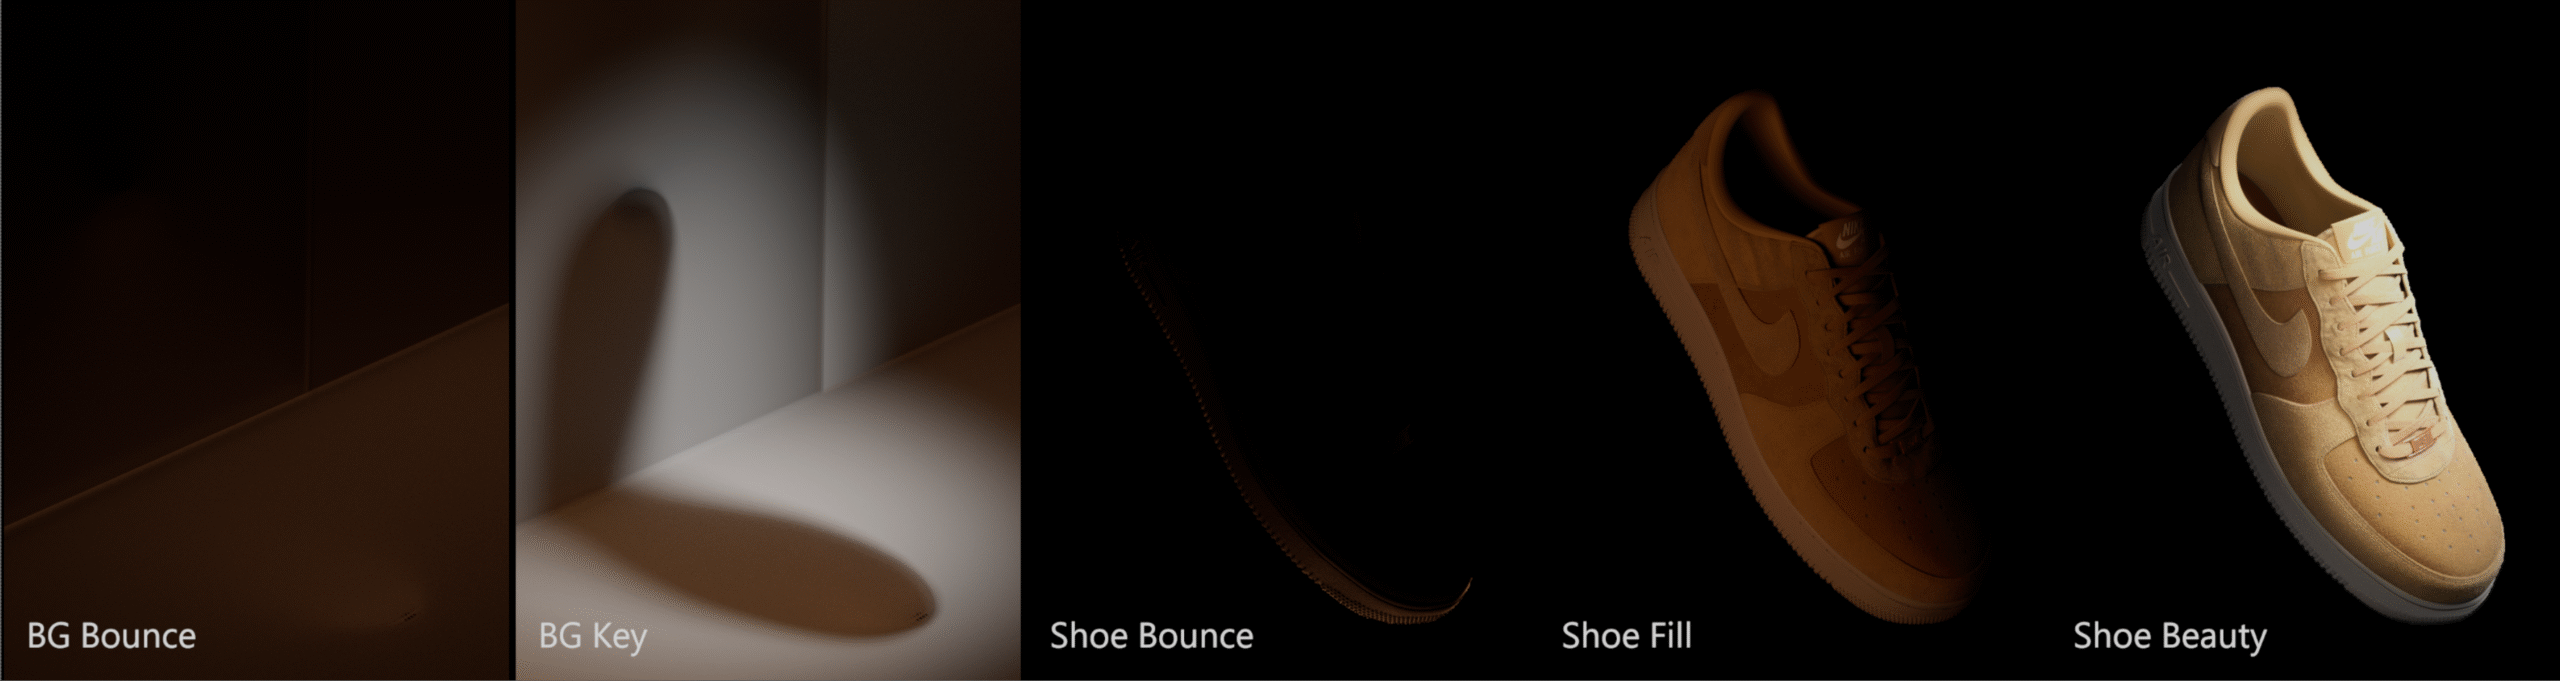
For the lighting, I start with a low-contrast HDRI to softy brighten up the whole scene. Then I add a key light coming from the top-right of the screen, followed by some fill and bounce lights to even out the contrast. Here’s a lighting diagram showing the setup for one of the shots, and at the bottom you can see how each light affects the scene on its own.
Thank you
This project was really fun, and I learned a lot about shoe modeling, textile patterns, and shoe anatomy. To achieve a realistic look, I used a mix of different techniques — for example, applying a displacement map on the midsole instead of fully modeling the details. I also tried 3D printing the model, which turned out pretty well! It still needs a bit of refinement, though, since models for rendering and models for 3D printing require different kinds of preparation.